How to straighten the horizon in your photos (to retain credibility)
[Feature photo by author]
I highly recommend to start your editing process by straightening your images. It’s so important that, if not done, could seriously hurt your credibility when pitching images to editors.
Keeping your horizons straight in your landscape images is not easy, especially if you don’t have a tripod with a bubble level. It’s a mistake I often make, but luckily, it’s also a mistake that can be very easily fixed in most editing software like Lightroom, Photoshop, or even free and basic ones.
Here’s a quick tutorial about how to straighten your images in Lightroom and in Picasa, which is one of the most common free editing tools by Google.
1. Straightening an image in Lightroom:
Open up Lightroom, select the image and head to the Develop Module (shortcut: D).
On the right-hand side panel, just below the histogram, are a few tools to make quick corrections on your images. The first one is the “Crop Overlay” tool, which is used to crop images, but also to straighten them.

Click on the tool (or use the shortcut R) and you’ll have a frame appear around your image that you can use to crop. If you hover your mouse outside the frame, the icon will change into a little two-sided arrow like in the photo below.

By clicking and dragging your mouse up and down, you’ll be able to straighten the image. Use the grid lines to make sure everything ig straight and click “Done” to have your fixed image.
Alternatively, you can also use the ruler tool to really make sure your horizons are straight.
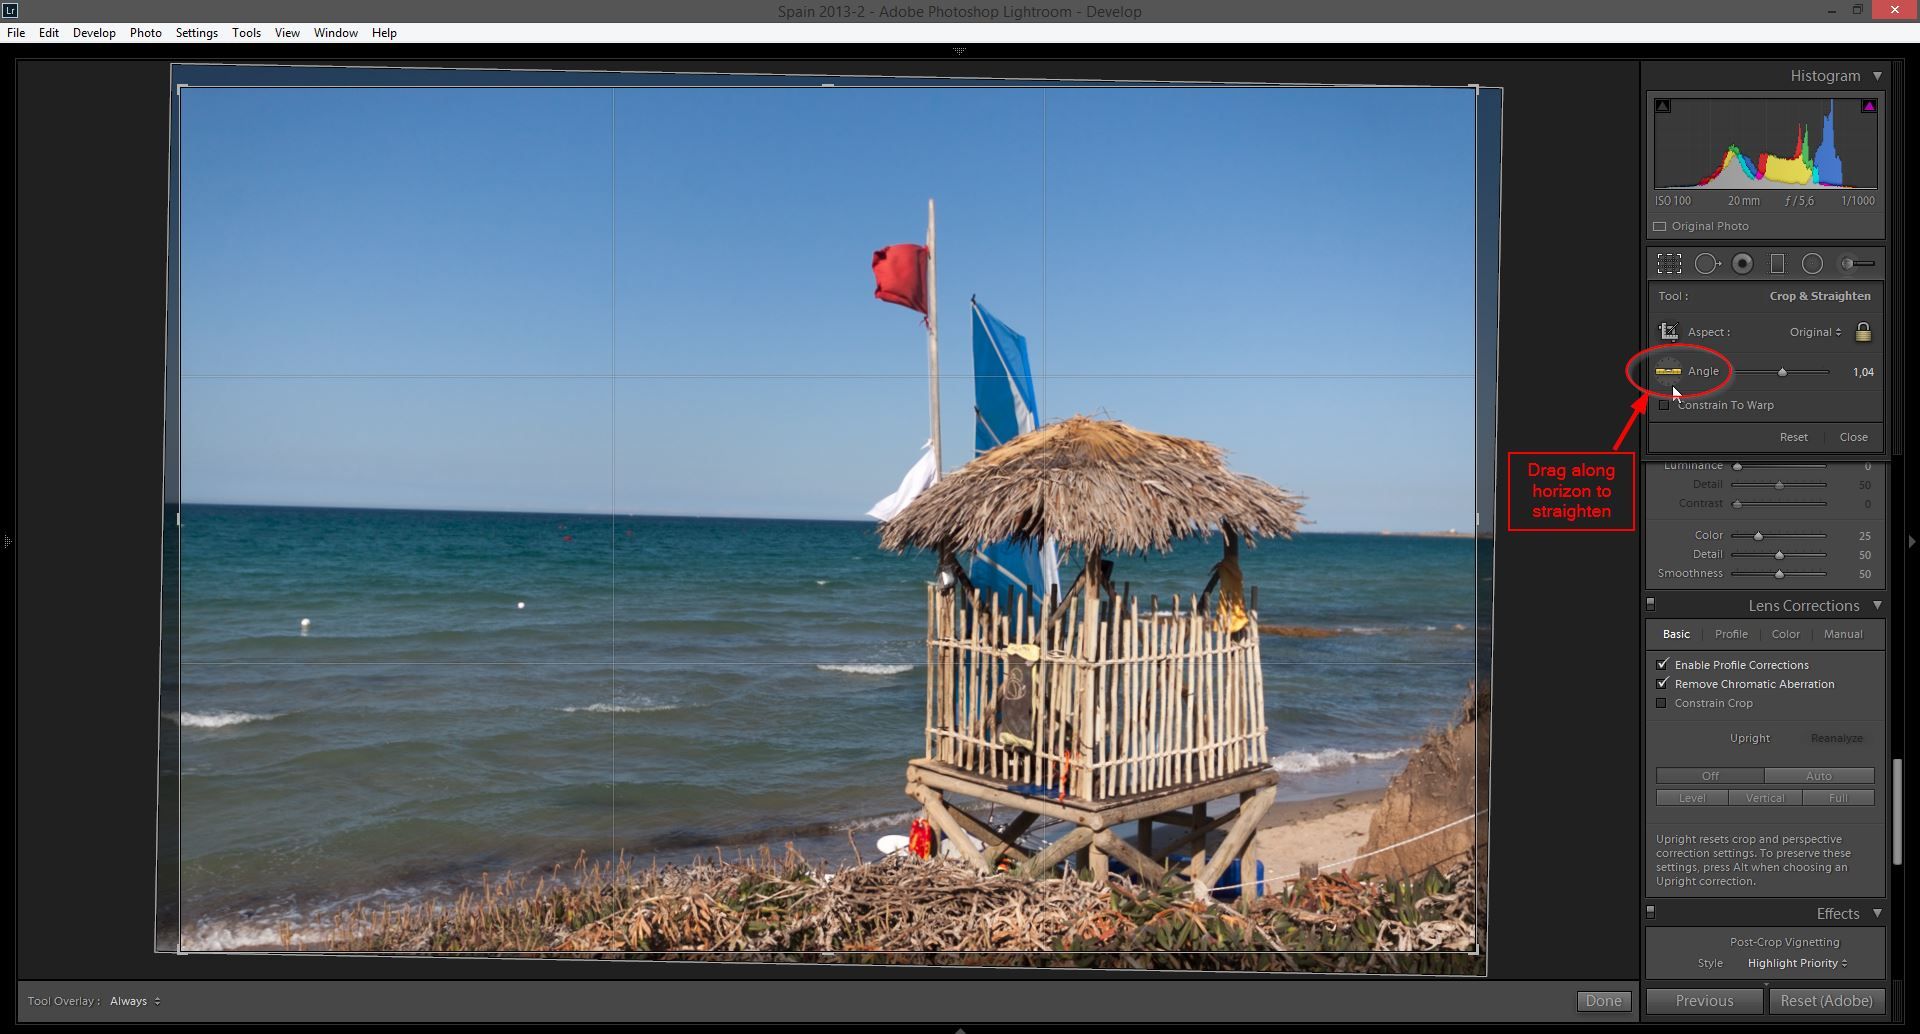
Click on the ruler and simply draw a line over the horizon in your image (just a small portion is enough). Lightroom will automatically straighten the image according to that line. This works best when you have clear horizons and it also works for vertical elements like buildings.
2. Straightening an image in Picasa:
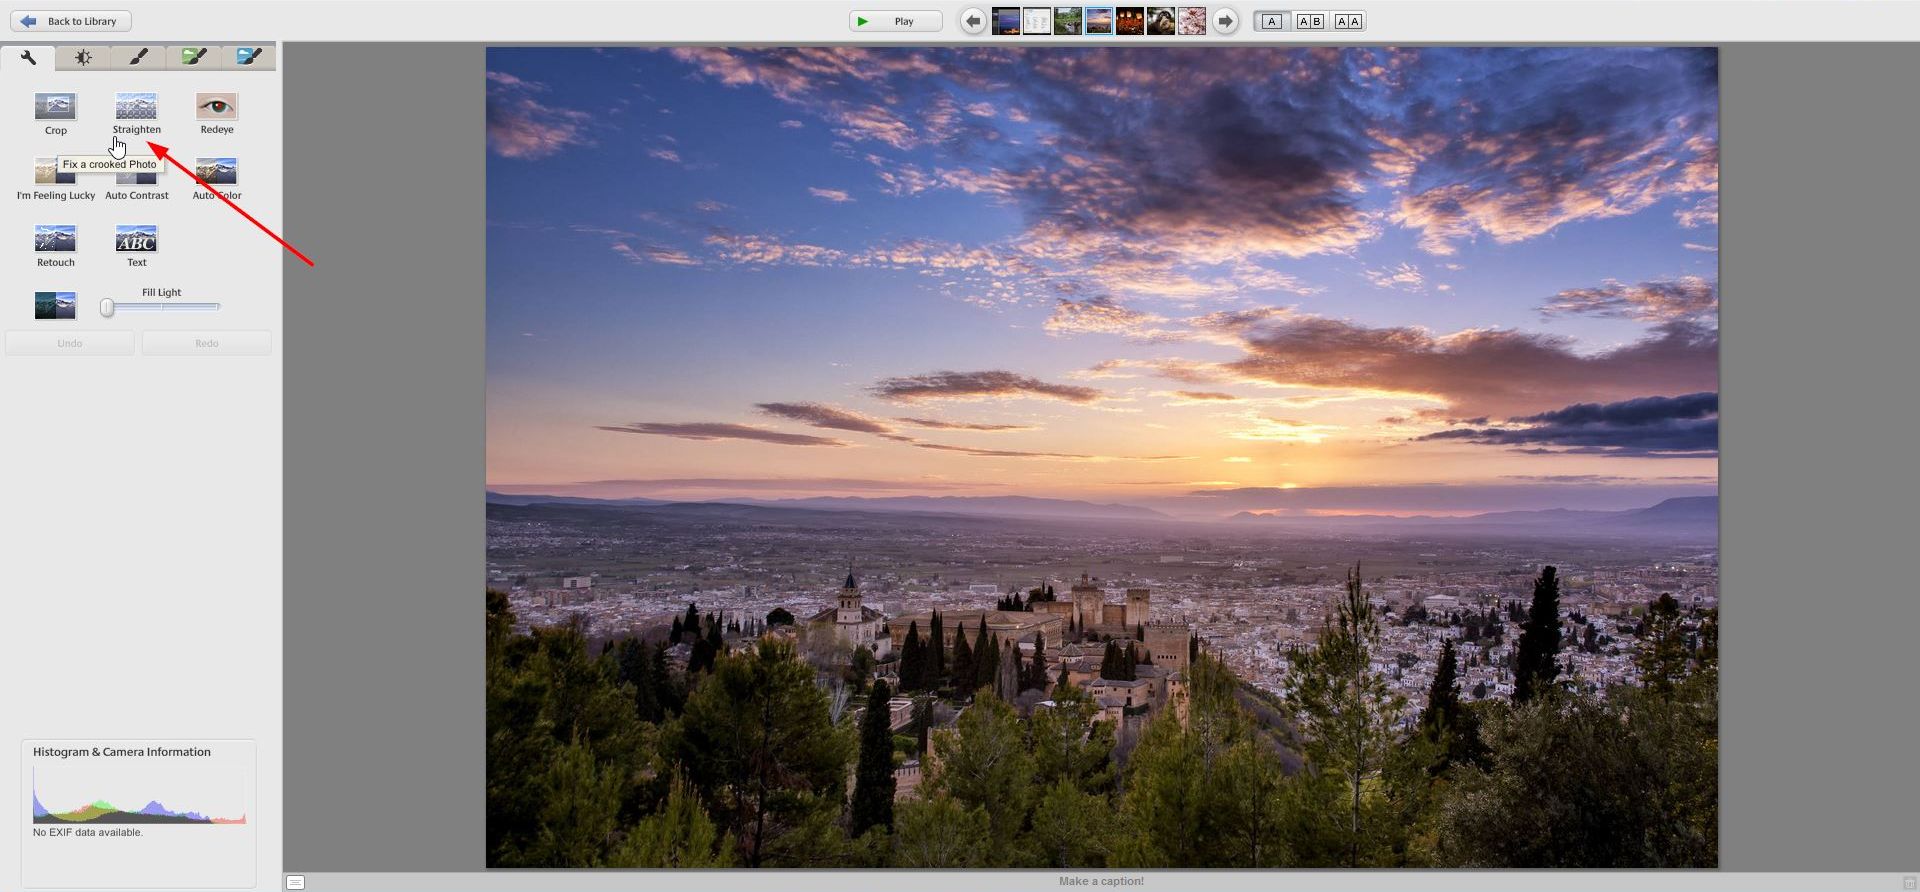
Open your software and double-click on your image to open the editing window.
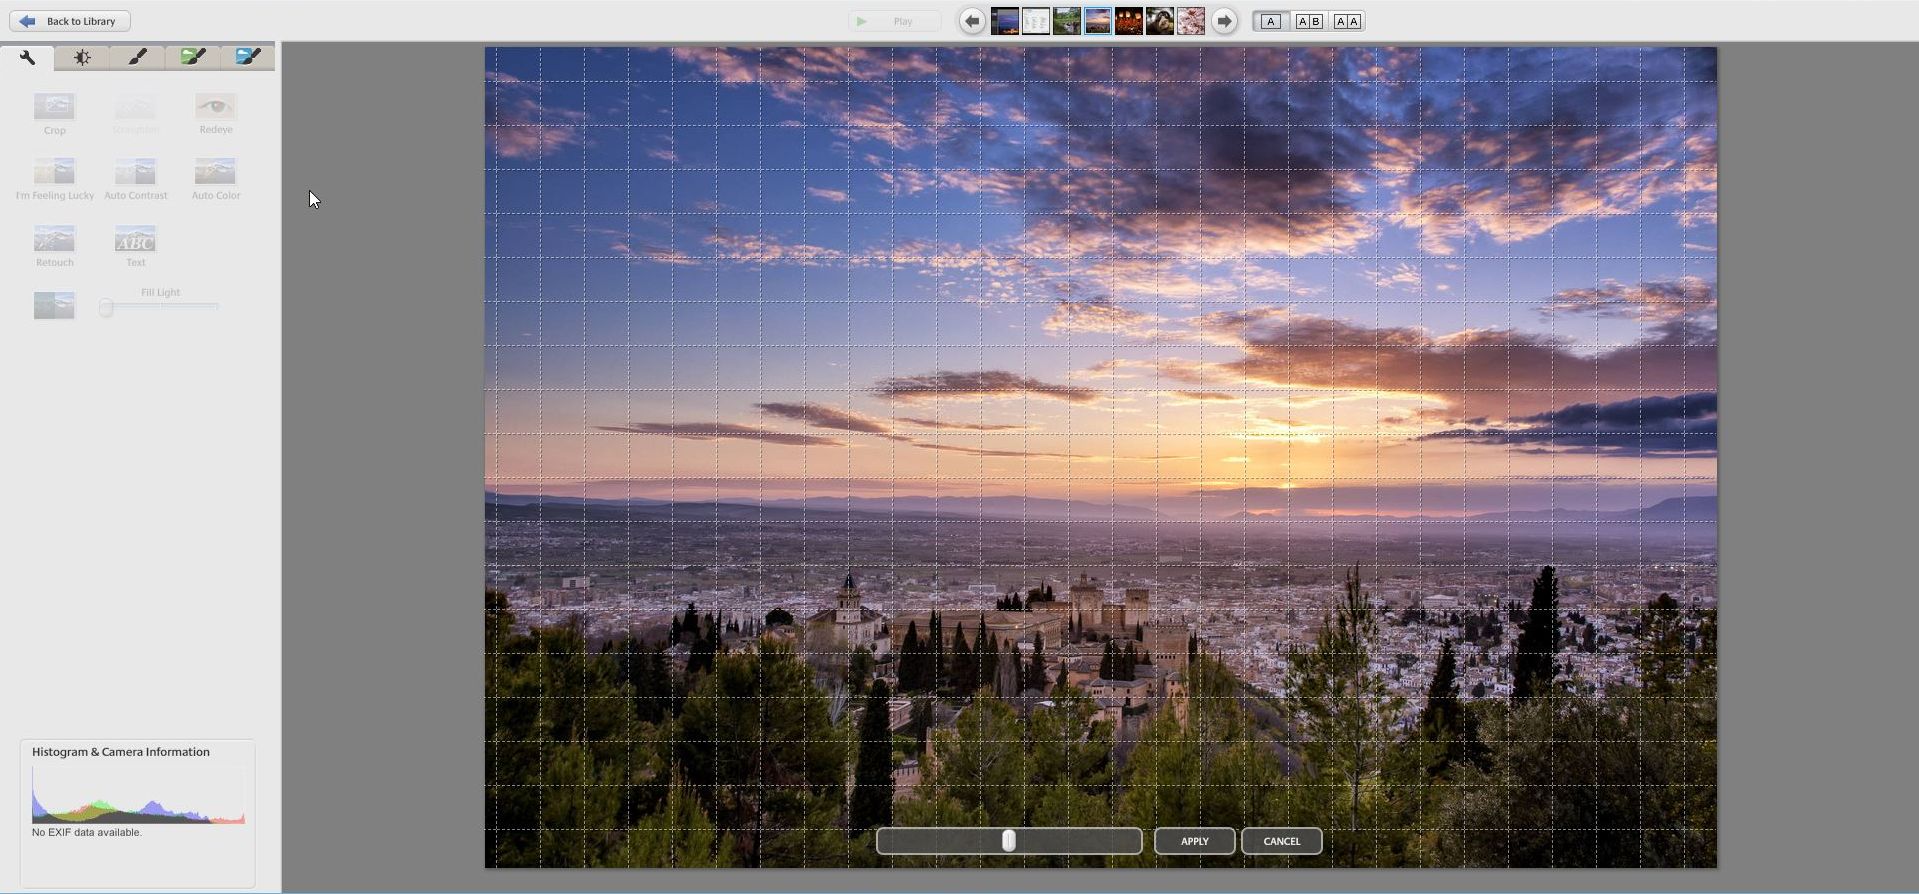
On the left side, you’ll have a set of tools. Click on the “Straighten” tool and you’ll have a new grid appear on your image. Just drag the slider right or left and use the grid to make sure the horizon is perfectly straight.
Note that by straightening images you will inevitably crop out part of the photo. The straighter the image already is out of camera, the less cropping will occur, so try to stay conscious of the horizon while shooting!